
What makes a wagyu ground beef recipe stand out? Is it the meat’s unique marbling, tender texture, or rich flavor? Wagyu beef cooking ideas can turn any meal into something special. Its rich, buttery taste and soft texture make it great for many dishes, like burgers and meatballs.

Whether you’re a pro in the kitchen or just starting, wagyu ground beef recipes are exciting to try. They can spice up simple meals or make dinner parties memorable. So, why choose regular ground beef when you can have wagyu’s rich flavor?
Key Takeaways
- Wagyu ground beef offers a unique and delicious alternative to regular ground beef
- Wagyu beef cooking ideas can be used in a wide range of dishes, from burgers to meatballs
- The marbling of wagyu beef gives it a tender and flavorful texture
- Wagyu ground beef recipes can be simple or complex, depending on your skill level and preferences
- Exploring wagyu beef cooking ideas can add excitement and creativity to your meal planning
- Wagyu ground beef is perfect for special occasions or everyday meals
Understanding Wagyu Ground Beef: What Makes It Special
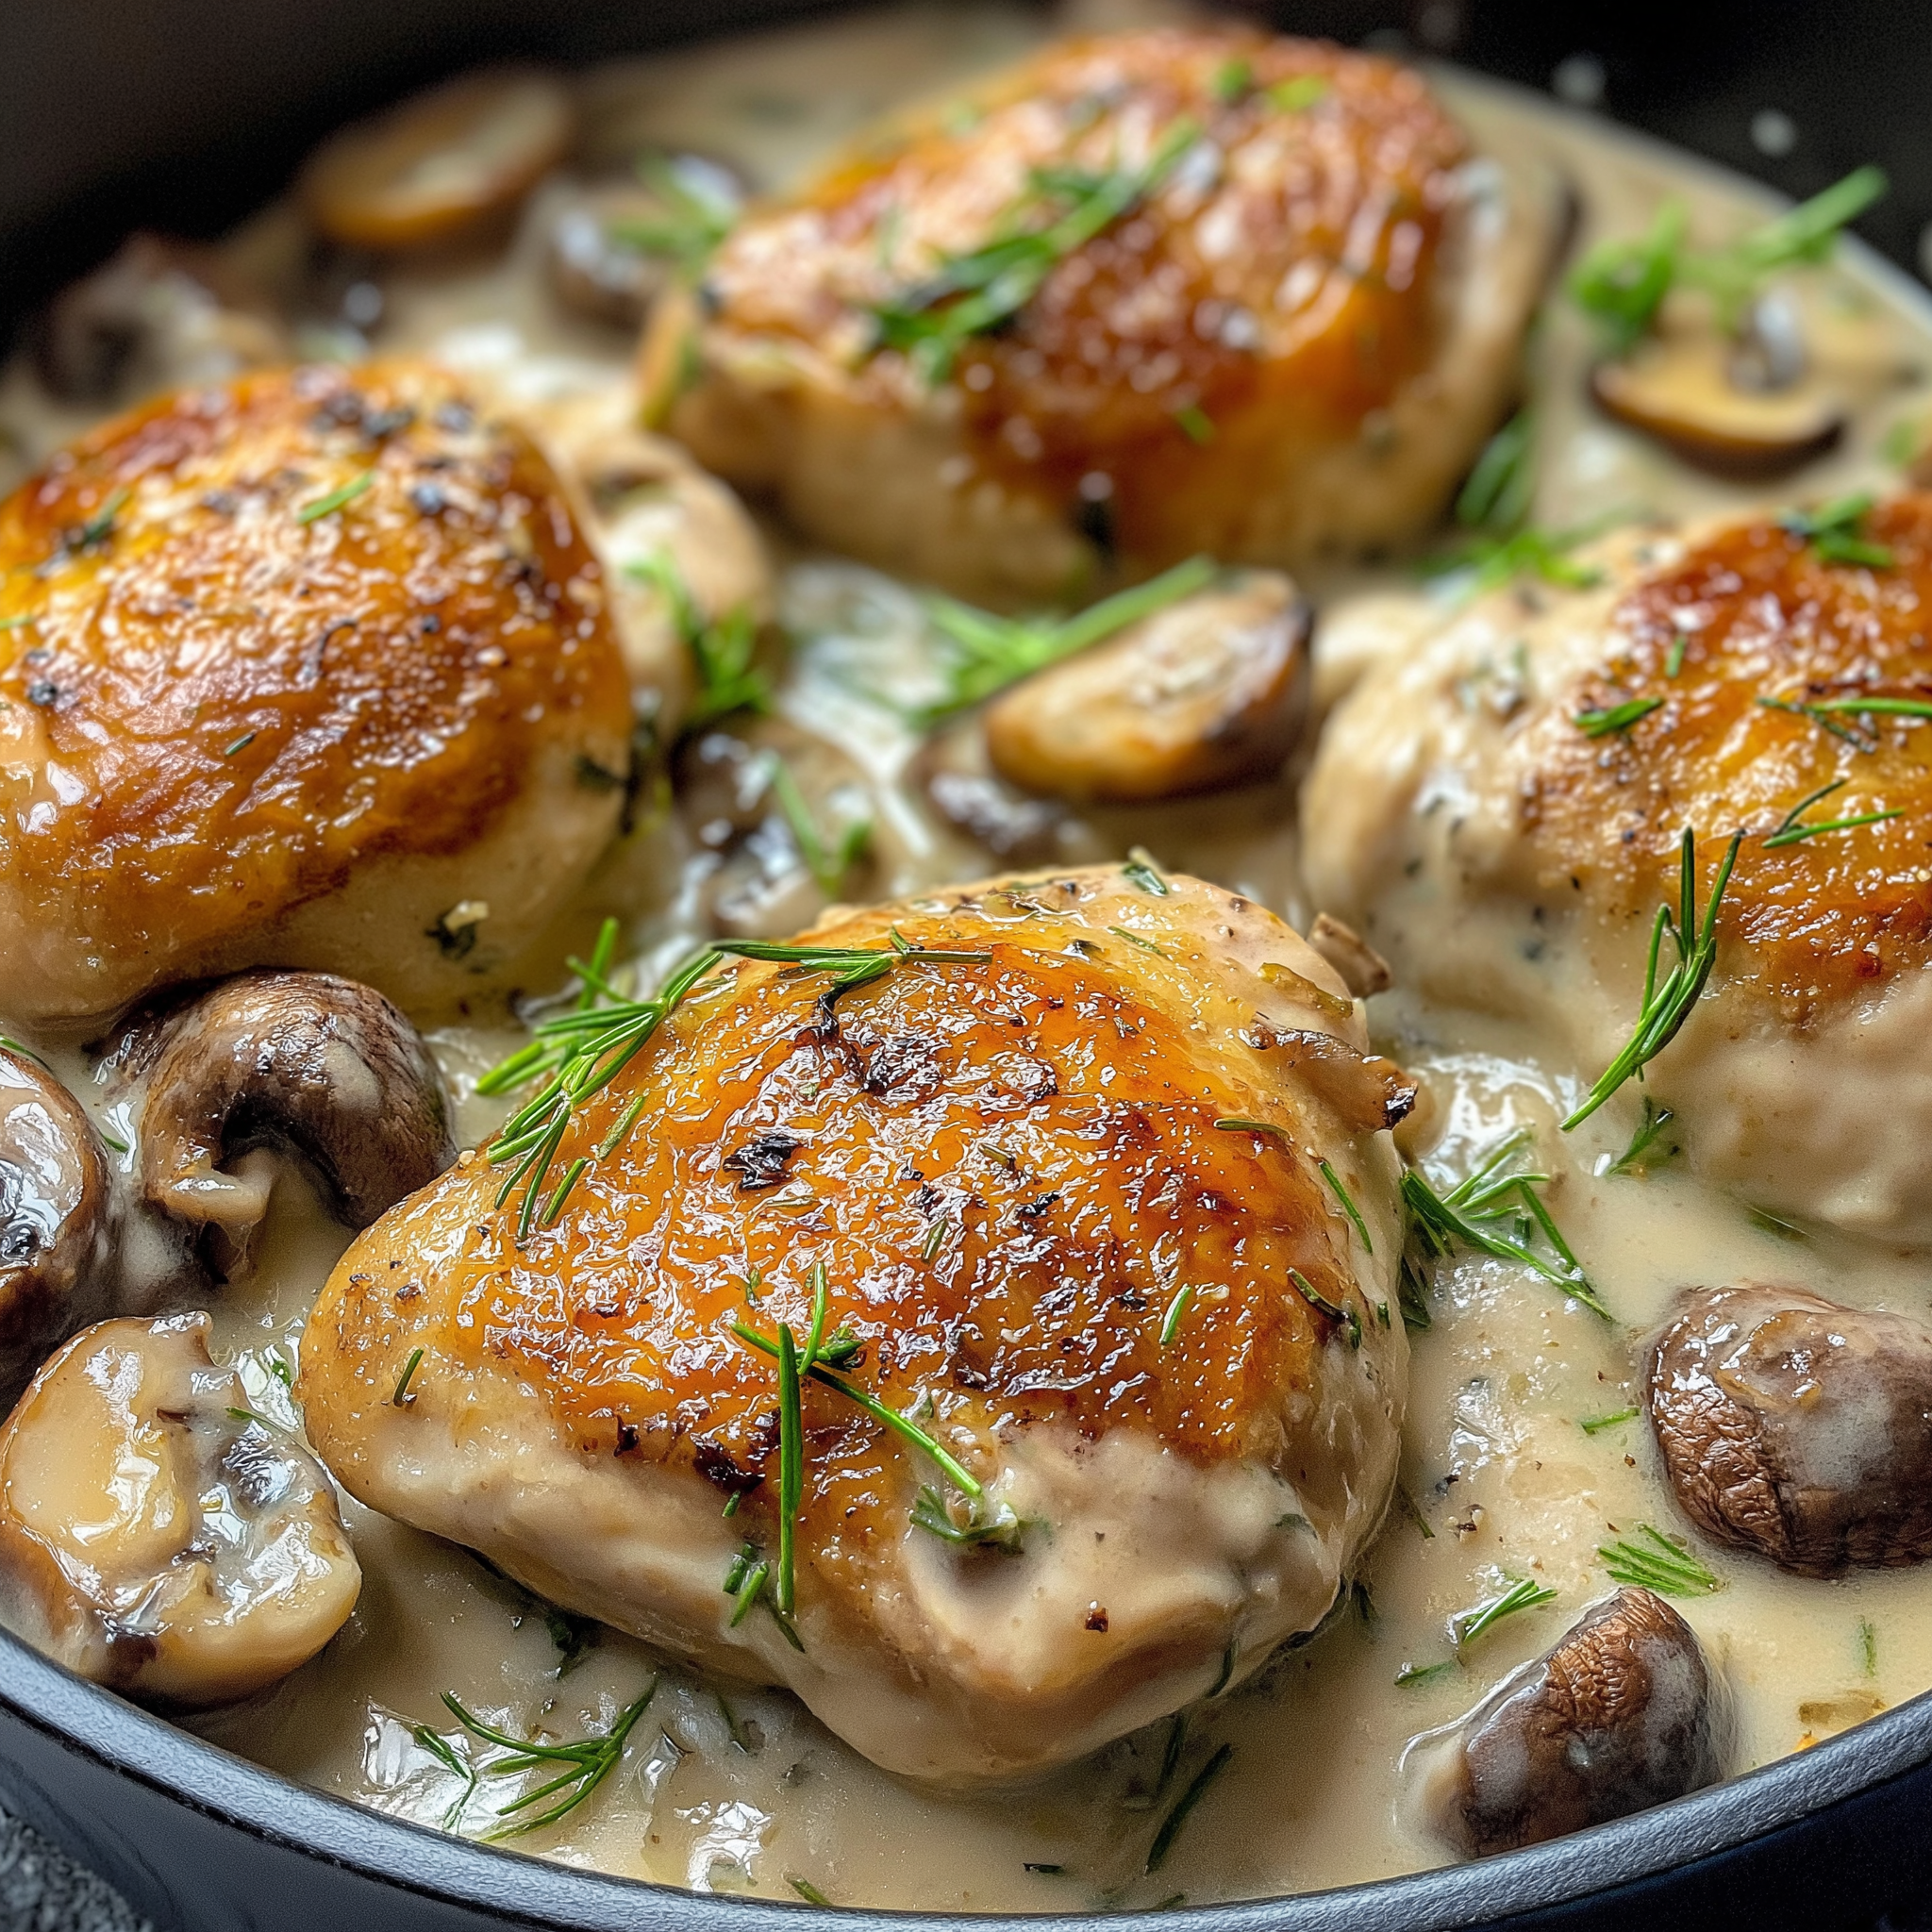
Wagyu ground beef is known for its high quality and special traits. It’s a favorite for making gourmet dishes like Wagyu beef burgers. The key is its genetic ability to have lots of marbling, which is fat inside the meat.
This marbling makes Wagyu ground beef tender and juicy. It also adds a rich, umami flavor. When making Wagyu beef burgers, it’s important to mix the meat’s natural taste with other ingredients. Wagyu beef’s marbling, nutrition, and taste make it better than regular ground beef for cooking.

The Unique Marbling of Wagyu Beef
The marbling in Wagyu beef comes from its genetics. It allows the animal to store fat in its muscles. This makes the meat more complex and flavorful when cooked.
Nutritional Benefits of Wagyu Ground Beef
Wagyu ground beef is also good for you. It has more conjugated linoleic acid (CLA) and omega-3 fatty acids than other beef. These nutrients can help your health, making Wagyu beef a great choice for those who care about nutrition.
Why Choose Wagyu Over Regular Ground Beef
Choosing Wagyu for burgers or other dishes can make your meal better. Wagyu beef tastes better, is tender, and might be healthier. It’s a great choice for special meals or everyday dishes, offering a unique taste experience.
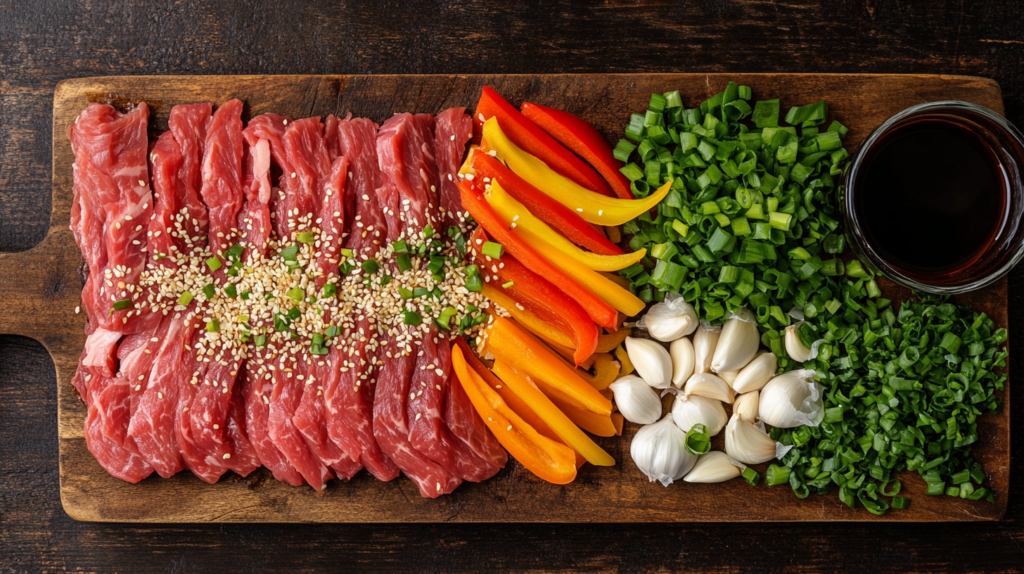
Essential Tips for Handling Wagyu Ground Beef
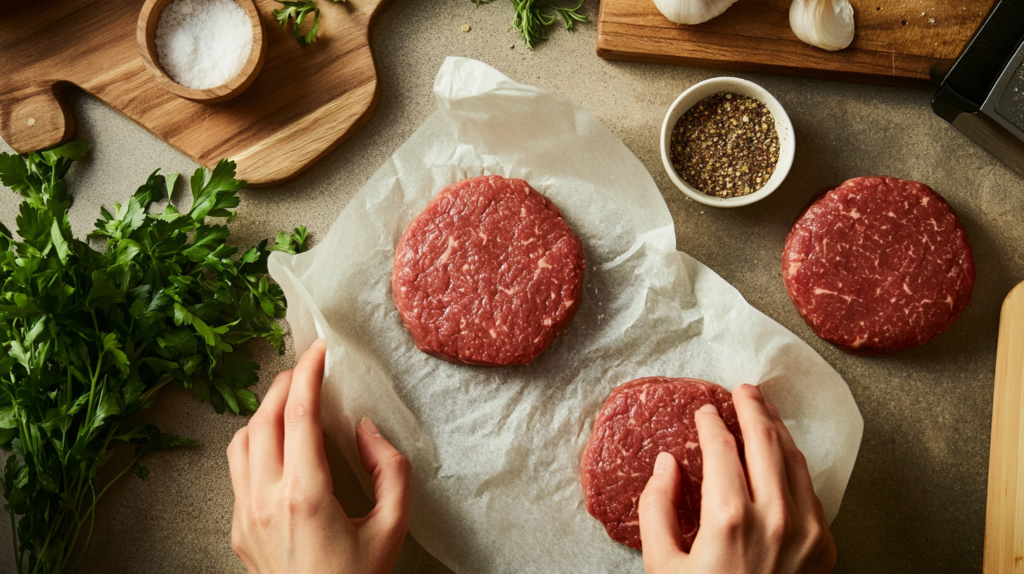
When working with Wagyu ground beef, it’s important to handle it gently. This avoids compacting the meat, which can make it tough. It’s key when making best wagyu ground beef recipes to keep the meat tender and flavorful. Handle the meat as little as possible and use a light touch when forming patties or mixing with other ingredients.
Storing and thawing Wagyu ground beef correctly is also crucial. Store it in a sealed container in the fridge at a temperature below 40°F (4°C). When thawing, put the meat in a leak-proof bag and thaw it in cold water. Change the water every 30 minutes to prevent bacterial growth. This keeps the meat quality high and prevents contamination.
Cook Wagyu ground beef to the right temperature for the best results. Use a thermometer to ensure it reaches 160°F (71°C) for medium-rare. This prevents overcooking, which can make the meat dry and flavorless. By following these tips, you’ll create premium beef recipes that highlight Wagyu’s rich, buttery flavor and tender texture.
- Handle the meat gently to avoid compacting it
- Store the meat in a sealed container at a consistent refrigerated temperature
- Thaw the meat in cold water, changing the water every 30 minutes
- Cook the meat to the right temperature, using a thermometer to ensure food safety
By following these simple tips, you’ll unlock Wagyu ground beef’s full potential. You’ll create delicious, memorable dishes that impress everyone. Whether it’s a classic burger or a more complex best wagyu ground beef recipe, careful handling makes all the difference.
| Handling Tips | Benefits |
|---|---|
| Handle the meat gently | Preserves natural tenderness and flavor |
| Store the meat properly | Maintains meat quality and prevents contamination |
| Cook the meat to the right temperature | Ensures food safety and optimal flavor |
Perfect Wagyu Ground Beef Recipes for Beginners
Starting with Wagyu ground beef is exciting. It’s best to begin with simple, tasty recipes. A wagyu beef meatball recipe is a perfect start. It lets you enjoy Wagyu beef in a familiar way. There are also many new wagyu beef dishes to try.
Classic Wagyu Burger
A Wagyu burger is a must-try. You’ll need Wagyu ground beef, a bun, cheese, lettuce, tomato, and your favorite toppings. The secret to a great burger is cooking the patty just right. This makes it juicy and full of flavor.
Simple Wagyu Meatloaf
Wagyu meatloaf is easy and customizable. You’ll need Wagyu ground beef, breadcrumbs, egg, and ketchup. Mix everything, shape into a loaf, and bake until done.
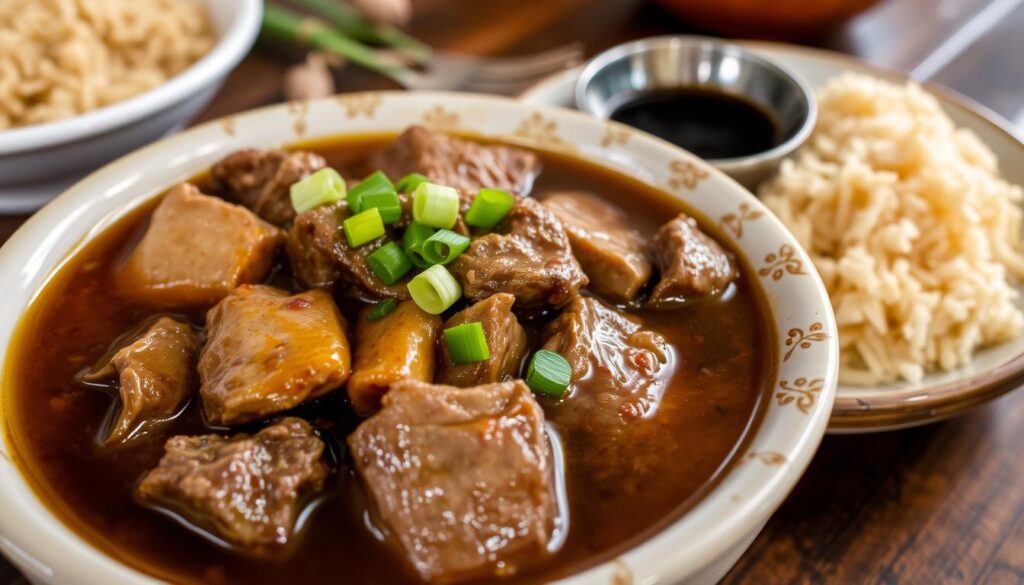
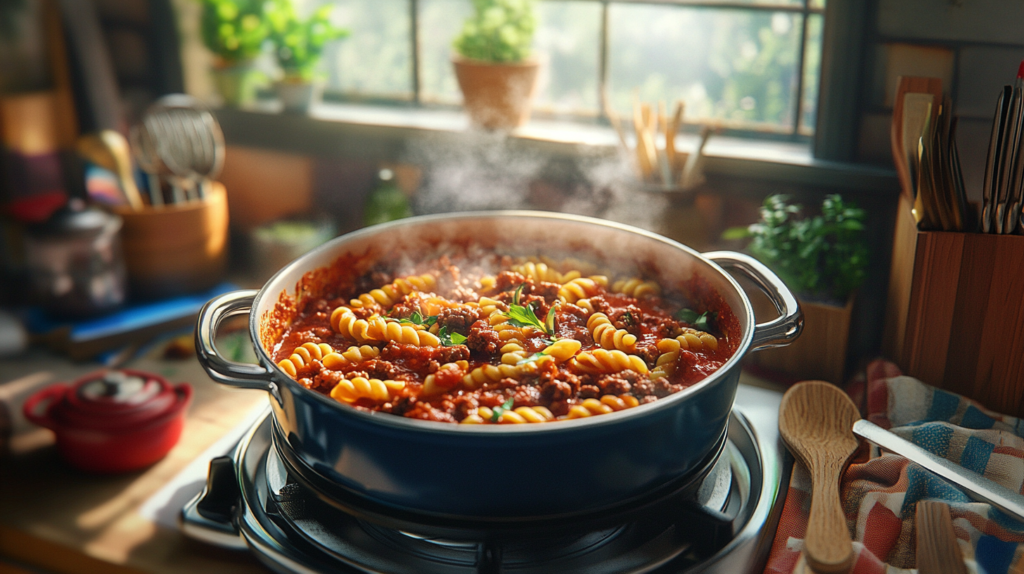
Basic Wagyu Meat Sauce
A basic Wagyu meat sauce is perfect for pasta. You’ll need Wagyu ground beef, tomato sauce, and herbs. Brown the beef, then add the sauce and herbs. Simmer until thick, then serve over pasta.
These recipes are just the start of your Wagyu journey. With practice, you’ll master delicious wagyu beef dishes. So, why not try a new wagyu beef meatball recipe today?
| Recipe | Ingredients | Cooking Time |
|---|---|---|
| Classic Wagyu Burger | Wagyu ground beef, bun, cheese, lettuce, tomato | 10-15 minutes |
| Simple Wagyu Meatloaf | Wagyu ground beef, breadcrumbs, egg, ketchup | 30-40 minutes |
| Basic Wagyu Meat Sauce | Wagyu ground beef, tomato sauce, herbs | 20-30 minutes |
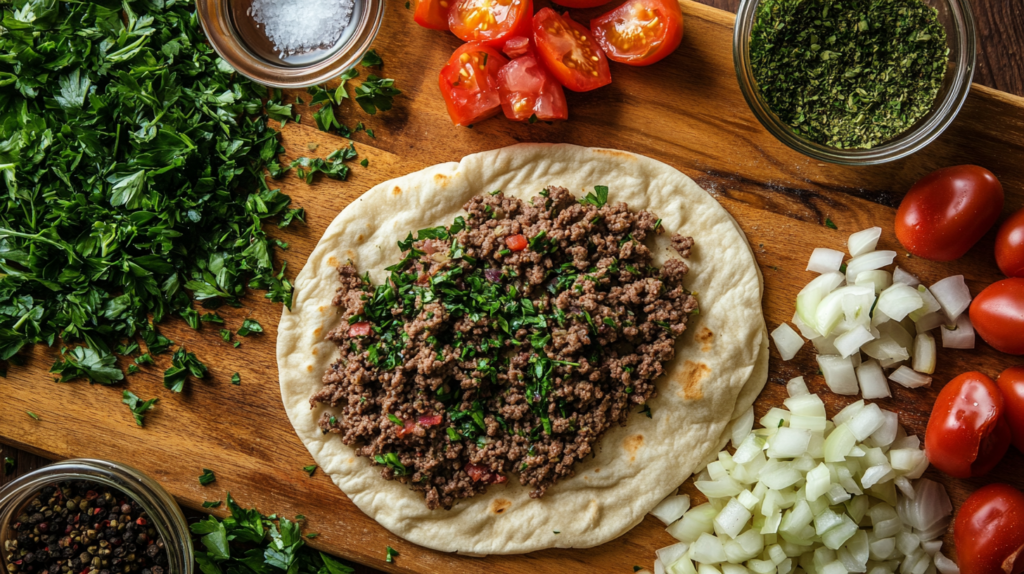
Crafting the Ultimate Wagyu Beef Burger
When cooking with Japanese Wagyu beef, the secret to a great burger is in the details. A good Wagyu ground beef recipe needs the right bun and toppings. Think about using a brioche bun and toppings like caramelized onions, mushrooms, and premium cheese.
To get the perfect sear, mastering temperature control is key. Cook the burger in a hot skillet with a bit of oil, then finish it in the oven. This ensures it’s cooked just right. For an amazing burger, use a cast-iron skillet. It keeps heat well and gives a nice crust.
Selecting the Right Bun and Toppings
- Choose a brioche bun for its rich, buttery flavor
- Select toppings that complement the flavor of the Wagyu beef, such as caramelized onions and mushrooms
- Consider adding a slice of premium cheese, such as truffle or parmesan
Follow these tips and use top-notch Wagyu ground beef to make the ultimate burger. Whether it’s Japanese Wagyu or another type, the secret is in the details and quality ingredients.
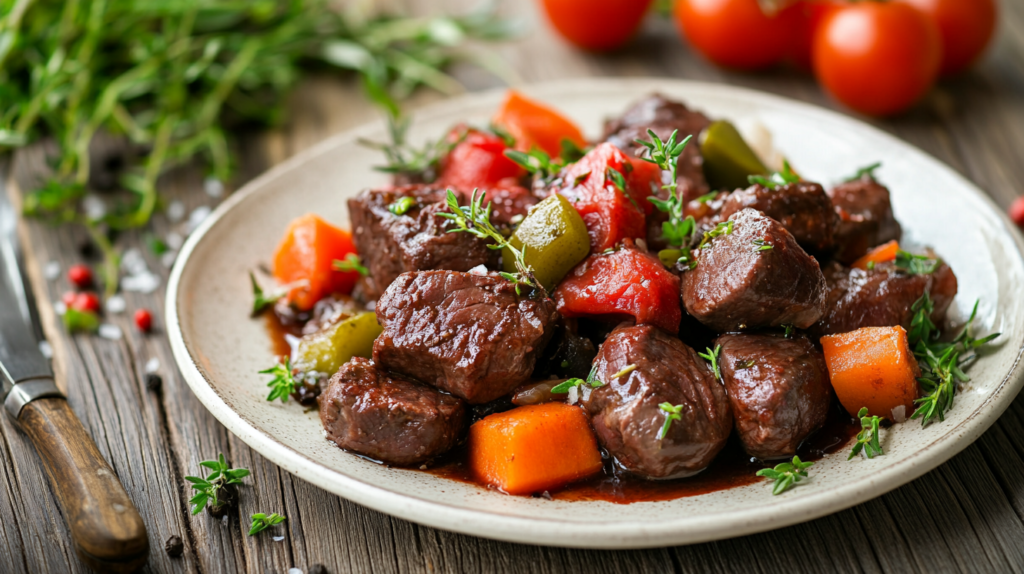
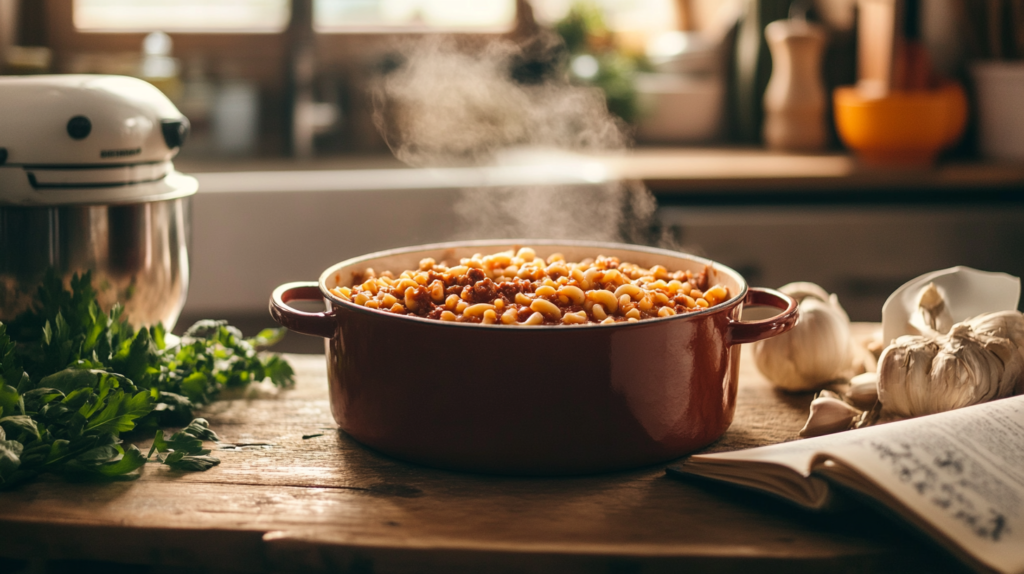
Gourmet Wagyu Meatball Creations
Meatballs are a fantastic way to enjoy wagyu beef’s rich flavor. You can try different types of meatballs, sauces, and cooking methods. Here are some ideas:
- Italian-style meatballs with tangy marinara sauce
- Swedish-style meatballs with creamy bechamel sauce
- Spanish-style meatballs with spicy tomato sauce
For something new, use wagyu beef cooking ideas to make gourmet ground beef dishes. Add truffle oil, caramelized onions, or crispy prosciutto for a fancy taste. Try baking, grilling, or pan-frying for a crispy outside and a juicy inside.
Here’s a simple recipe to start with:
| Ingredient | Quantity |
|---|---|
| Wagyu ground beef | 1 pound |
| Breadcrumbs | 1/2 cup |
| Parmesan cheese | 1/4 cup |
| Egg | 1 |
| Salt and pepper | To taste |
Mix all ingredients in a bowl until well combined. Shape into meatballs and cook as you like. Serve with your favorite sauce and enjoy!
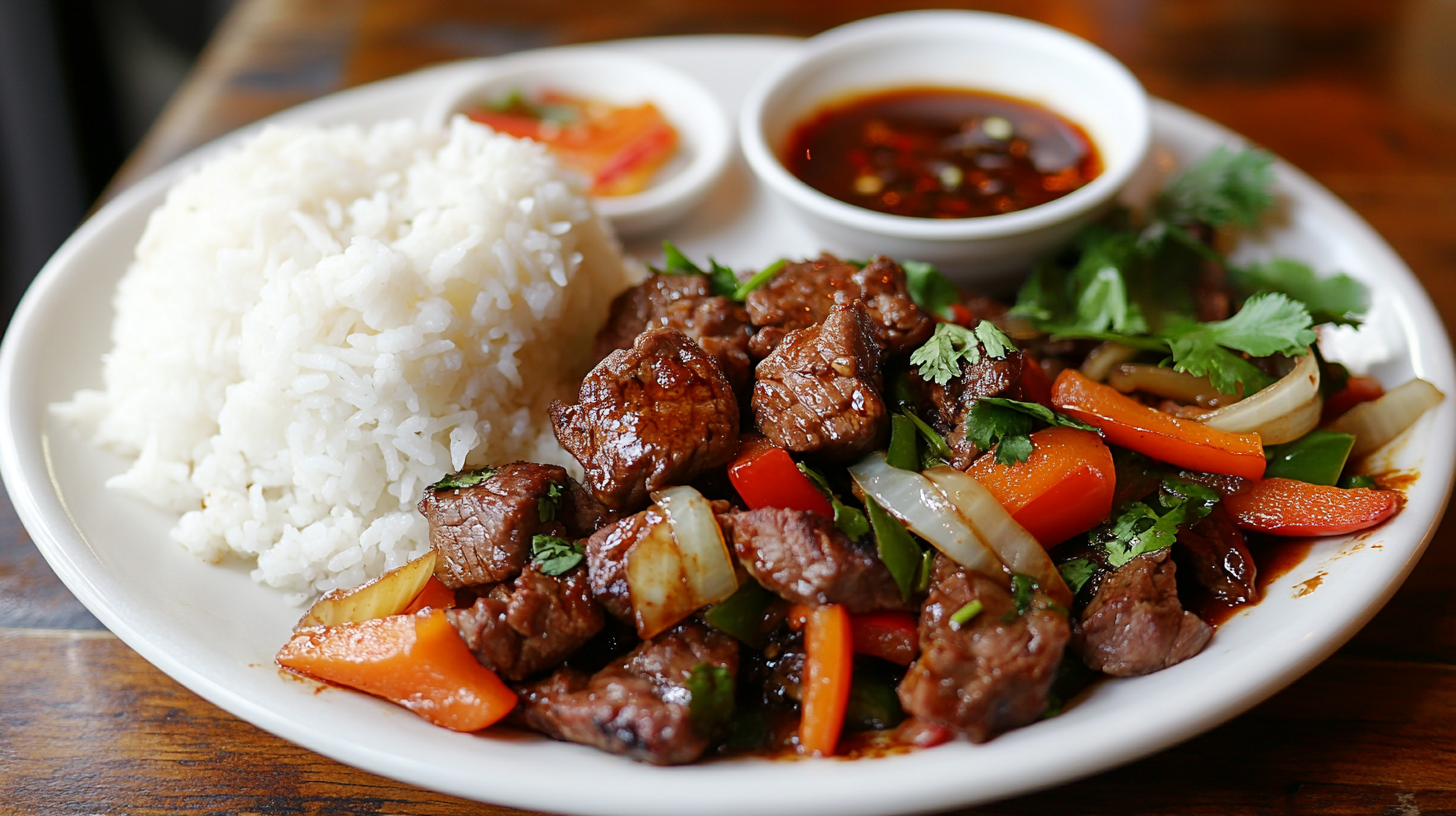
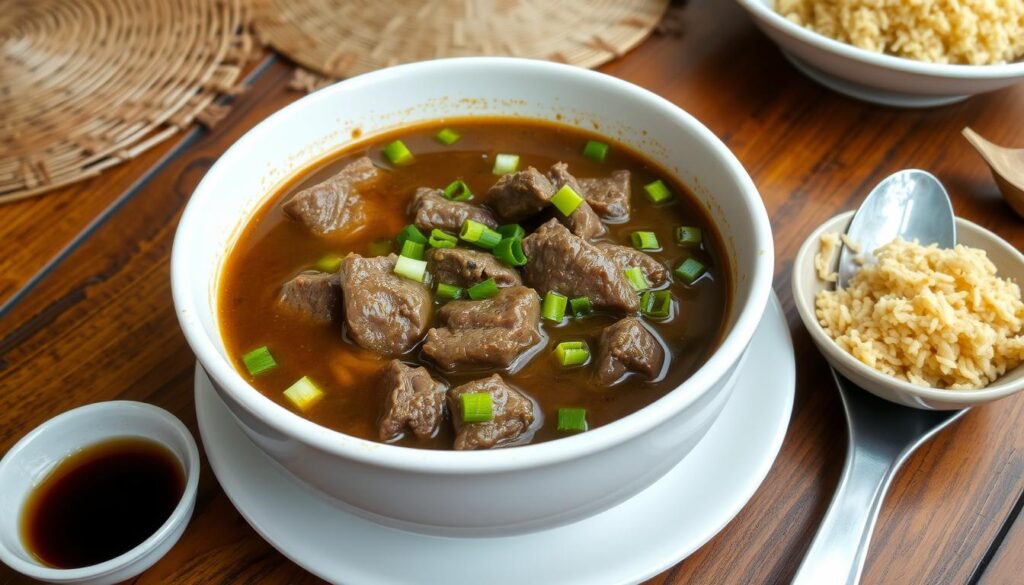
Asian-Inspired Wagyu Ground Beef Dishes
Exploring Asian-inspired Wagyu ground beef dishes opens up a world of flavors. Start with making Wagyu beef burgers for a simple yet tasty dish. Try a Japanese-style hamburg steak with a Wagyu beef patty, savory sauce, and steamed veggies.
For the best Wagyu ground beef recipes, mix flavors and textures well. A Korean bulgogi ground beef bowl is a hit, with marinated Wagyu beef, rice, kimchi, and green onions. For more ideas and tips, check out Manorearecipes.com.
Exploring Asian-Inspired Recipes
Some top Asian-inspired Wagyu ground beef dishes include:
- Japanese-style hamburg steak with teriyaki sauce
- Korean bulgogi ground beef bowl with kimchi
- Chinese mapo tofu with Wagyu ground beef and Szechuan pepper
These dishes are not only tasty but also easy to make. They require just a few ingredients and little prep time. Try different recipes to find your favorite Wagyu ground beef dishes.
Whether you want something classic or something new, Asian-inspired Wagyu ground beef dishes will hit the spot. They offer rich flavors and a variety of ingredients. These recipes are great for anyone looking to improve their cooking and try Wagyu beef.
Storing and Preserving Your Wagyu Ground Beef
To keep your Wagyu ground beef fresh and tasty, it’s important to store and preserve it right. When making premium beef recipes, like a wagyu beef meatball recipe, you must handle the meat safely. This helps avoid spoilage.
Freezing is a key part of storing Wagyu ground beef. Wrap it tightly in plastic or foil and put it in a freezer-safe bag. When you’re ready to thaw it, do so correctly to keep its texture and taste.
Proper Freezing Techniques
- Wrap the meat tightly to prevent air from reaching it
- Label and date the package for easy identification
- Store the meat at 0°F (-18°C) or below
Thawing Methods for Best Results
There are two ways to thaw Wagyu ground beef: the fridge or cold water. The fridge method is safer and recommended for a slow thaw. For a wagyu beef meatball recipe, thaw the meat just before cooking for the best taste and texture.
By using these storage and preservation tips, you can enjoy Wagyu ground beef in many premium beef recipes. This includes a tasty wagyu beef meatball recipe. Always handle the meat safely to keep it fresh and of high quality.
Common Mistakes to Avoid When Cooking Wagyu Ground Beef
Cooking with Japanese Wagyu beef needs careful attention to get the best results. A common error is overcooking, which makes the meat tough and loses its flavor. To prevent this, cook the Wagyu ground beef to the right internal temperature. Also, avoid pressing down on the meat with your spatula.
Another mistake is not seasoning enough, leading to a bland taste. Seasoning is key when cooking Wagyu ground beef, as it brings out the meat’s natural flavor. Use a mix of salt, pepper, and other seasonings to enhance the flavor of your dishes.
Using the wrong cooking methods is another common mistake. Wagyu beef needs a gentle cooking approach, as high heat can harm its delicate structure. Use medium-low heat and cook slowly to get the perfect texture and flavor. By avoiding these mistakes, you can make delicious Wagyu beef dishes that highlight the meat’s unique qualities.
Here are some more tips for cooking Wagyu ground beef:
- Handle the meat gently to avoid compacting it
- Use the right type of oil for cooking, such as avocado oil or grapeseed oil
- Don’t overcrowd the pan, as this can lower the temperature and affect the cooking process
Pairing Suggestions and Side Dishes
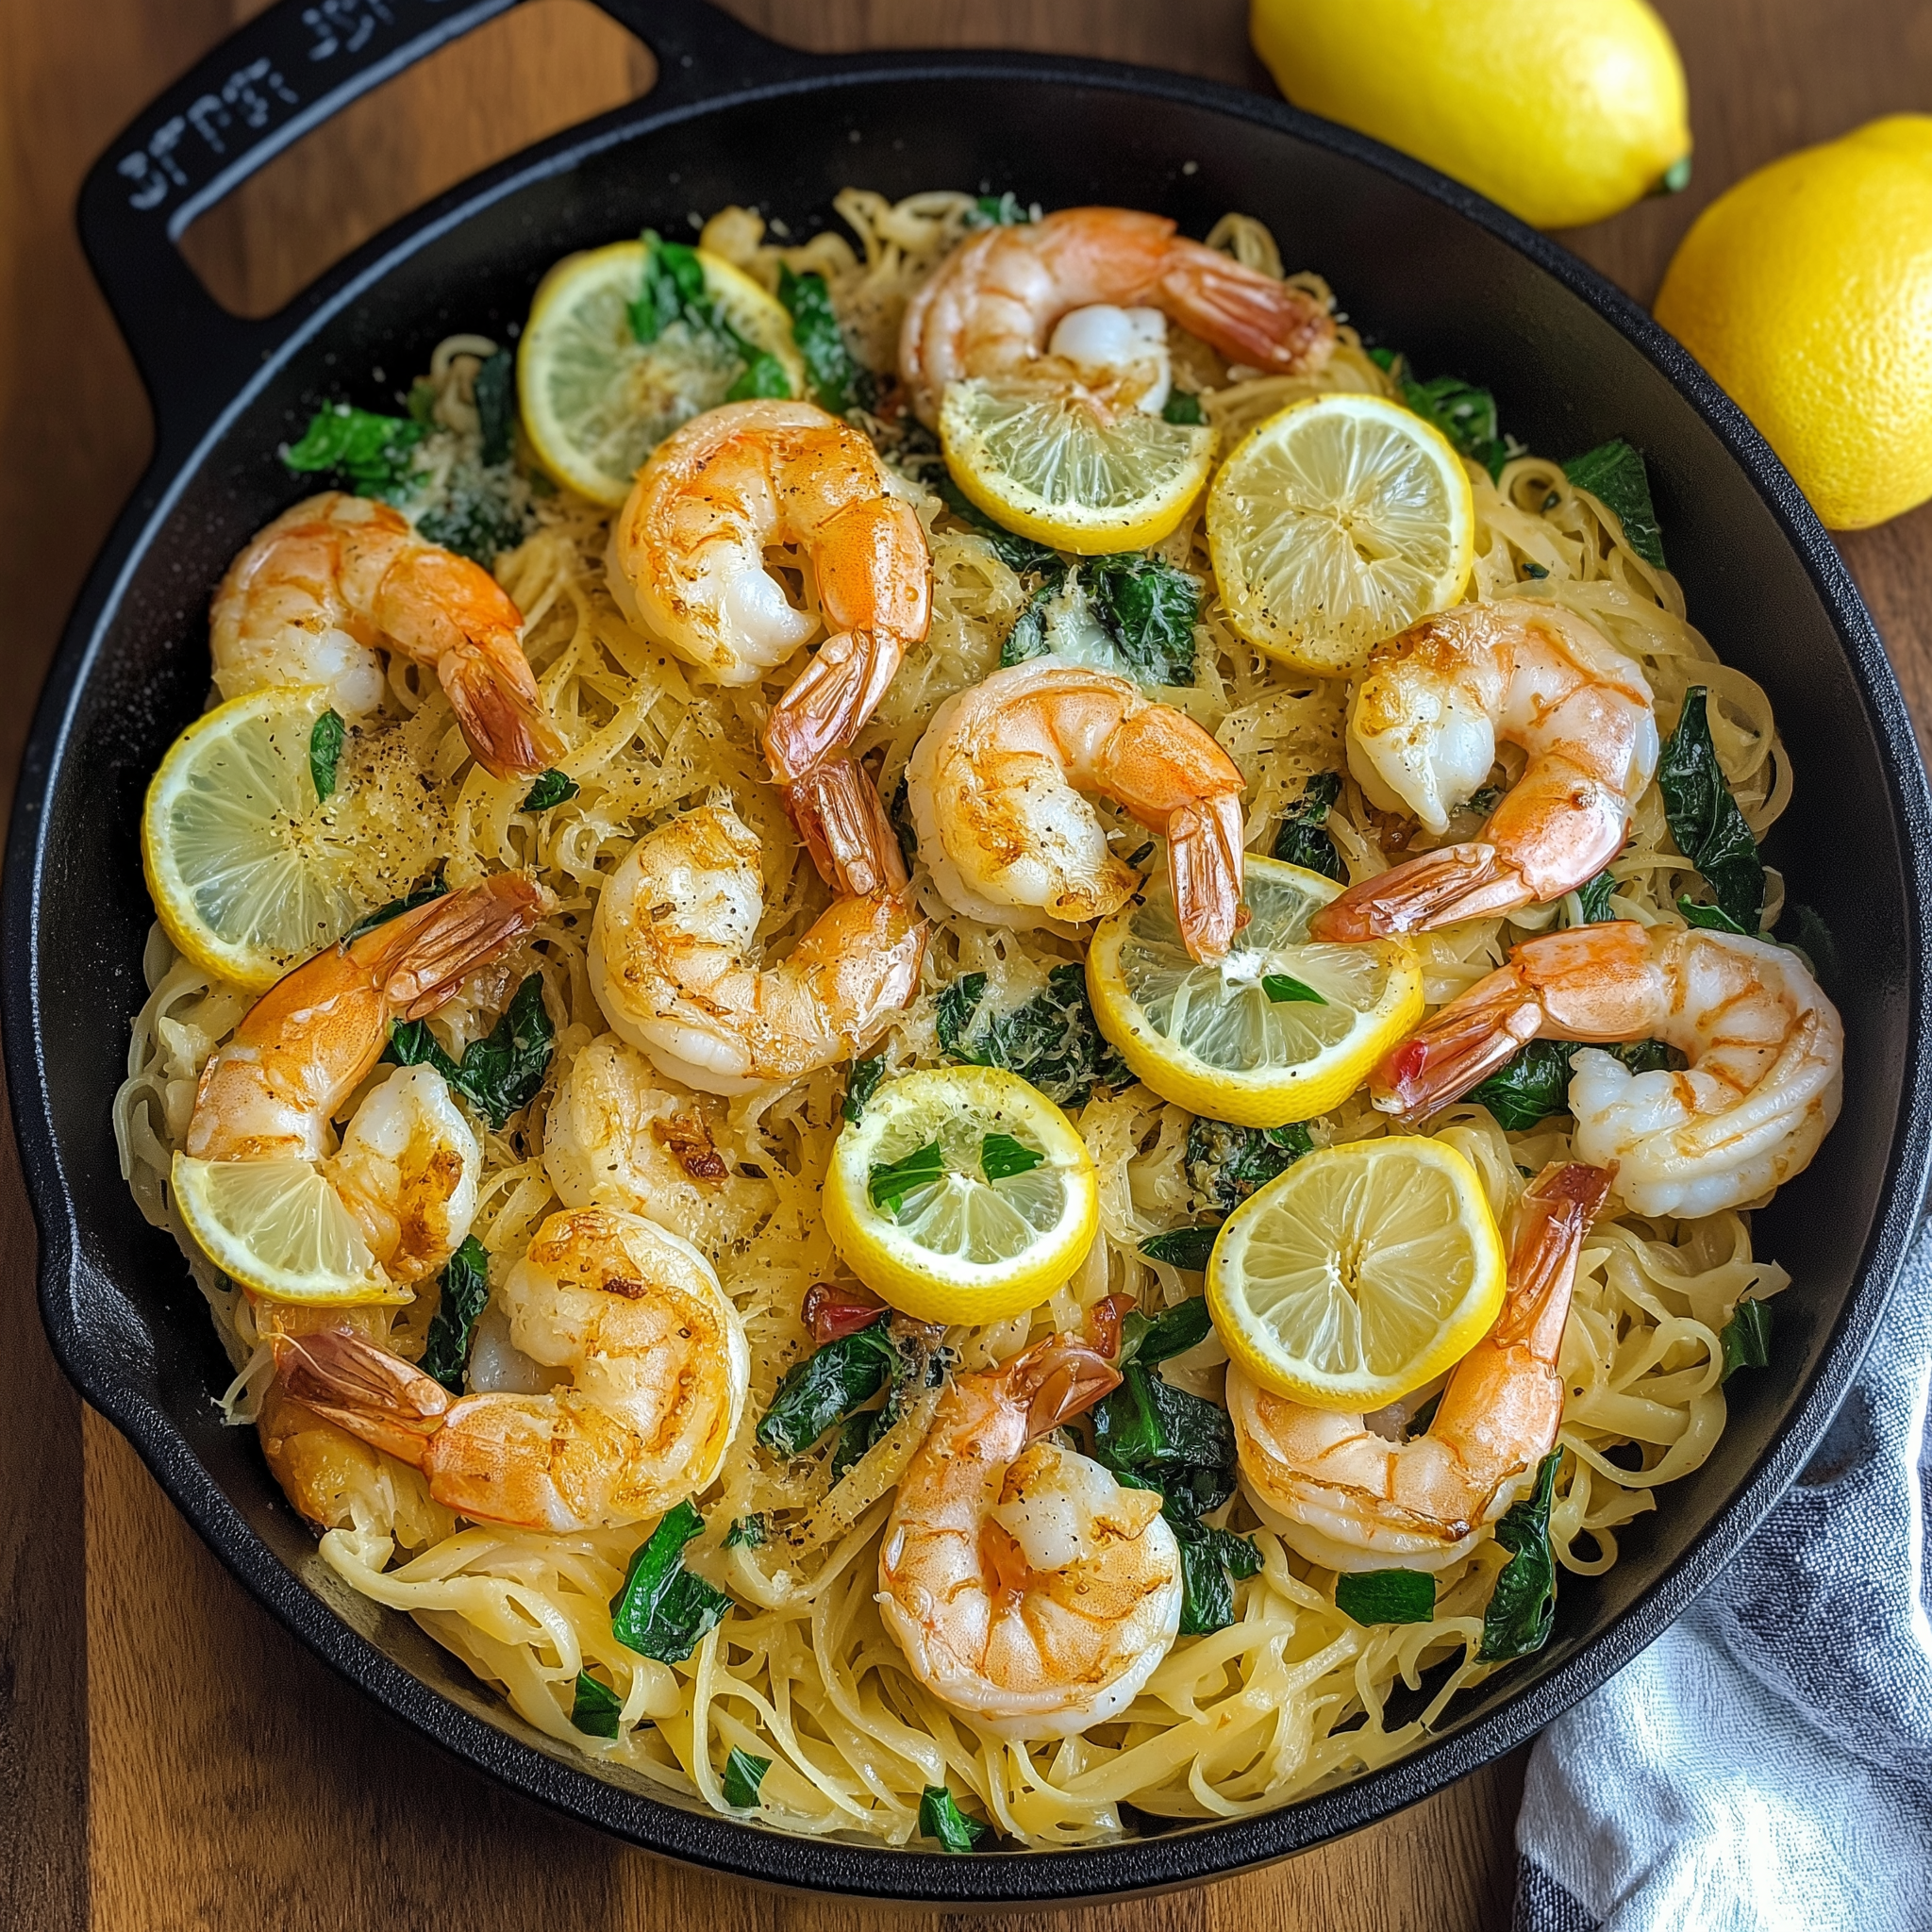
Enjoying a wagyu ground beef recipe is even better with the right pairings and side dishes. Think about flavors and textures to make a complete meal. Pairing dishes with wagyu beef should highlight its rich taste.
Start with wine and beverage pairings. A medium-bodied red wine, like Pinot Noir, goes well with wagyu ground beef. For a casual setting, try a malty craft beer to balance the meat’s savory taste. Refresh with iced tea or lemon-infused sparkling water between bites.
Complementary Side Dishes
Popular sides for wagyu ground beef include roasted veggies and savory grains. Try Brussels sprouts, asparagus, quinoa, or brown rice. For a treat, add truffled mashed potatoes or demiglace sauce. The goal is to mix flavors and textures for a great meal.
The best pairings and sides depend on your taste and the recipe. Experiment with flavors and ingredients to find the perfect match. This will make your meal unforgettable.
Conclusion: Making the Most of Your Wagyu Ground Beef Experience
Discovering Wagyu ground beef opens a world of gourmet cooking. It’s perfect for everything from burgers to meatballs. Its rich flavor makes any dish special.
With the right recipes and techniques, let your creativity flow. Try new flavors and cooking methods. Wagyu beef is a luxury, and with practice, you’ll wow your loved ones.
Enjoy the process of cooking with Wagyu ground beef. It will take your home cooking to new levels. Bon appétit!
FAQ
What makes Wagyu ground beef special?
Wagyu beef is famous for its marbling and rich flavor. The special care and genetics of Wagyu cattle make it tender and juicy. It’s also full of umami.
What are the nutritional benefits of Wagyu ground beef?
Wagyu ground beef is packed with protein, vitamins, and minerals. It also has healthy fats that can improve your heart health.
How should I store and handle Wagyu ground beef?
Wagyu ground beef needs careful handling to keep its quality. Store it in the fridge or freezer. Thaw it slowly in the fridge, not at room temperature. Cook it gently to keep it tender and juicy.
What are some classic Wagyu ground beef recipes for beginners?
Beginners can try Wagyu burgers, meatloaf, or meat sauce. These dishes highlight Wagyu’s flavor and tenderness. They’re also easy to make.
How can I craft the ultimate Wagyu beef burger?
For the best Wagyu burger, choose the right bun and toppings. Cook it at the right temperature for a juicy patty. Season it well to enhance the flavor.
What are some gourmet Wagyu meatball creations?
Wagyu beef is great for gourmet meatballs. Try them in tomato sauce, with Asian flavors, or in stroganoff. These dishes are sure to impress.
What are some Asian-inspired Wagyu ground beef dishes?
Wagyu beef goes well with Asian flavors. Make Japanese hamburg steak, Korean bulgogi bowls, or Chinese mapo tofu. These dishes offer a true taste of Asia.
How can I properly store and preserve Wagyu ground beef?
To keep Wagyu beef fresh, freeze it in airtight containers. Thaw it slowly in the fridge. This ensures its quality and flavor.
What are some common mistakes to avoid when cooking Wagyu ground beef?
Avoid overcooking, underseasoning, and using wrong cooking methods. Watch the temperature and cooking time to keep the beef tender and juicy.
What are some good pairing suggestions and side dishes for Wagyu ground beef?
Wagyu beef goes well with bold red wines and crisp salads. Roasted vegetables also complement it well. These pairings make for a satisfying meal.